Step-by-Step Instructions
-
1
Power off and unplug
Always turn the printer off and disconnect it from power before any cleaning. Cleaning near live electrical components is dangerous.
-
2
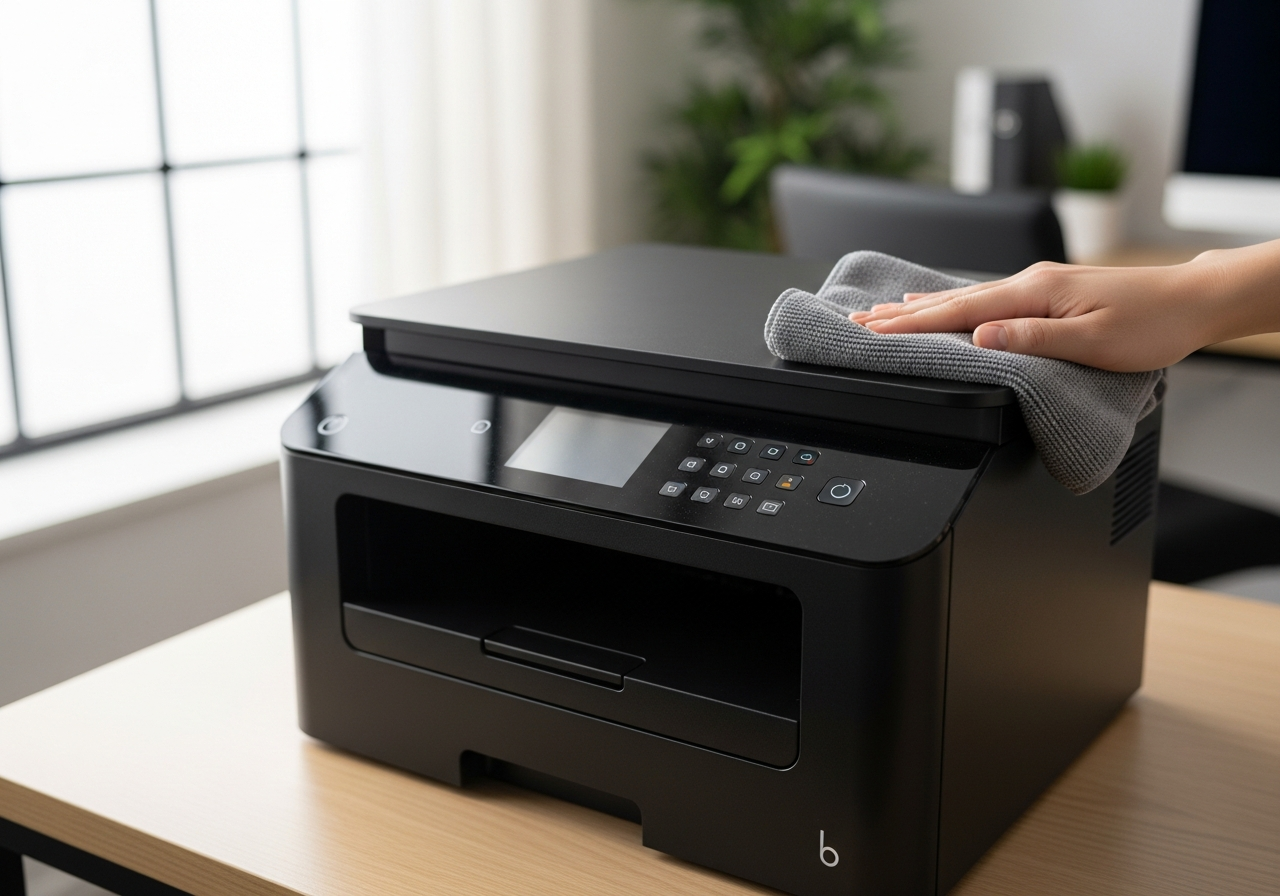
Clean the exterior
Wipe down the outside of the printer with a dry or slightly damp microfiber cloth. Pay attention to vents, which accumulate dust and can cause overheating. Never spray liquid directly onto the printer.
-
3
Clean the paper feed rollers
Using a lint-free cloth lightly moistened with distilled water, gently wipe the paper feed rollers. Rubber rollers harden and slip when coated in paper dust, causing feed errors and jams.
-
4
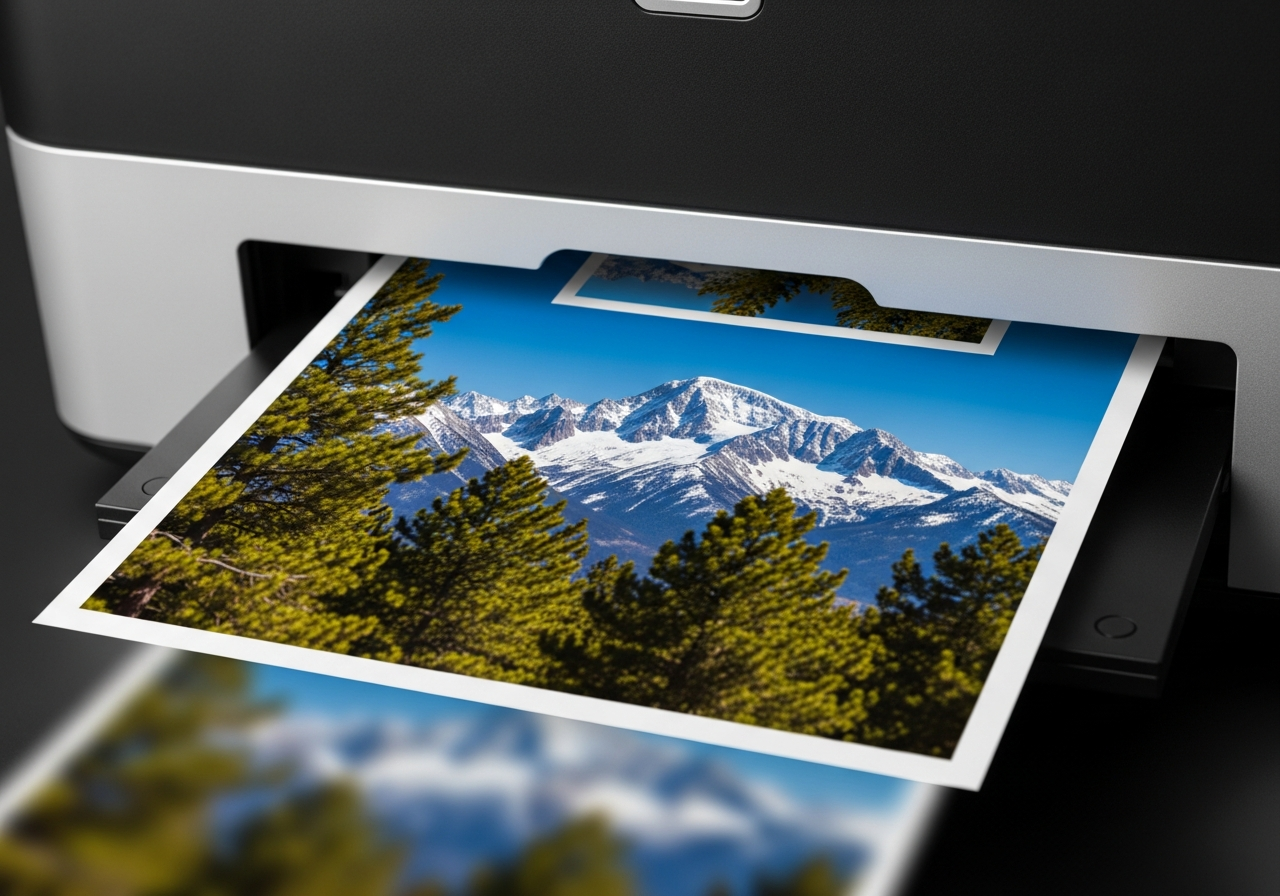
Clean the print platen and output area
Open the lid or access panel and use a dry cotton swab to remove any ink residue or paper dust from the print platen. This prevents ink transfer to the back of your printed pages.
-
5
Run a software cleaning cycle
Open your printer's utility software and run the printhead cleaning cycle. Even if you have not noticed quality issues, a periodic software cleaning helps keep nozzles clear and flowing.
-
6
Check and clean the scanner glass (if applicable)
For all-in-one printers, wipe the scanner glass with a clean microfiber cloth and a small amount of glass cleaner applied to the cloth — never directly to the glass.
-
7
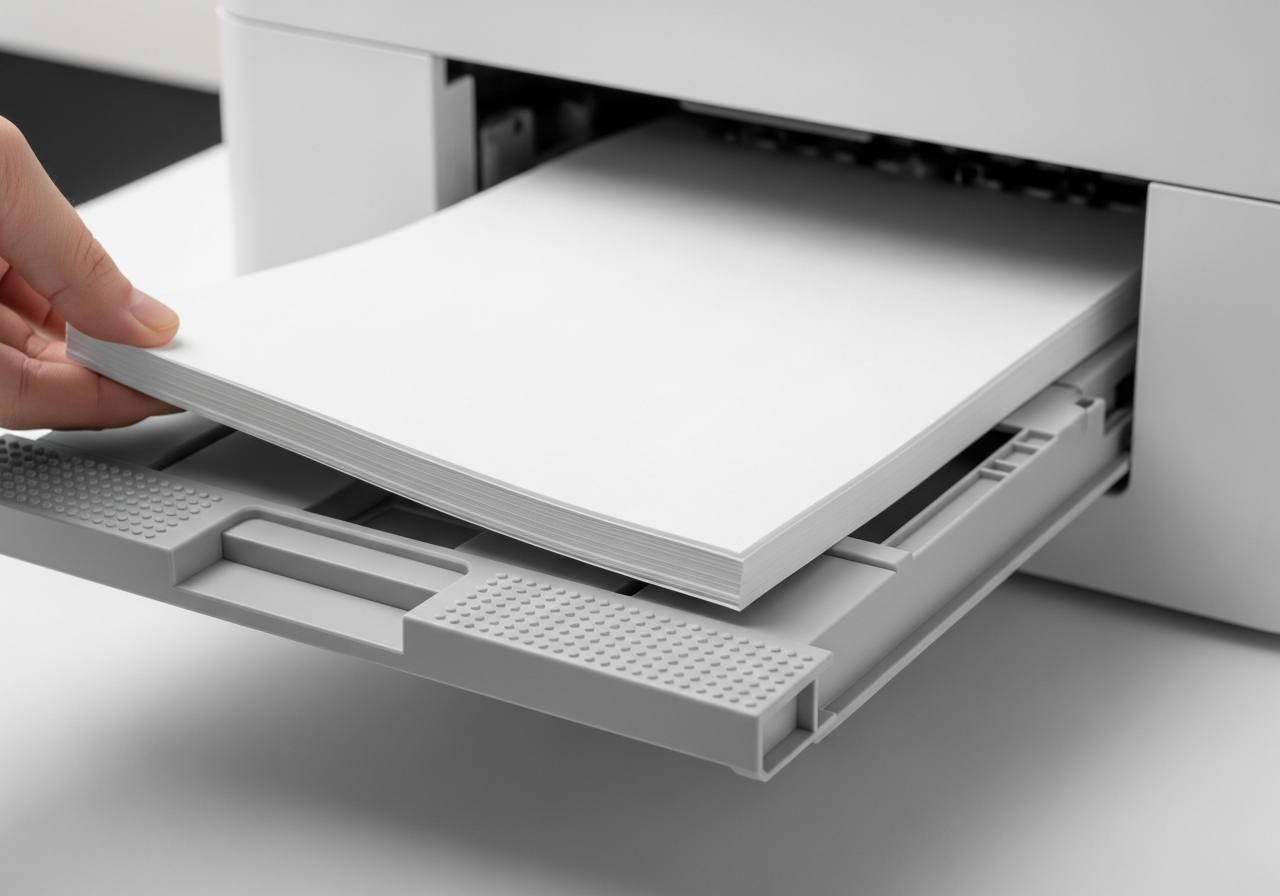
Inspect and adjust paper settings
Check that the paper guides in the tray are snug against the paper stack without bending it. Misaligned guides are a common cause of skewed prints and jams.
-
8
Check firmware and software
Open the printer software on your computer and check for any available firmware updates. Updated firmware often includes improvements to reliability and print quality.
Helpful Tips
- Set a monthly reminder to run through this maintenance routine.
- Use distilled or filtered water — tap water can leave mineral deposits.
- Never use alcohol-based cleaners on rubber components — they cause cracking.
- Keep a supply of lint-free cloths and cotton swabs specifically for printer maintenance.
- Store your printer in a dust-free environment; a simple dust cover makes a noticeable difference.