Step-by-Step Instructions
-
1
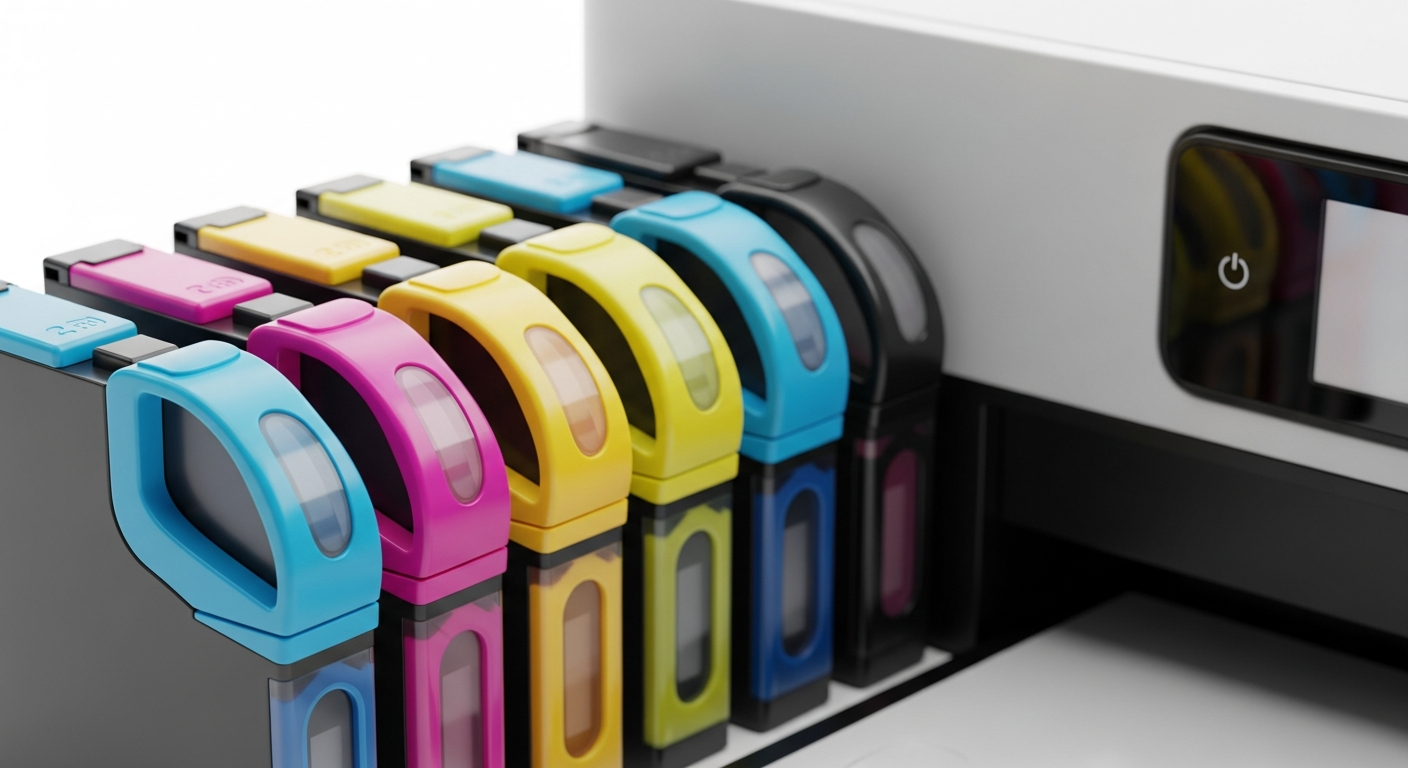
Check which cartridge needs replacing
Open your printer's software on your computer or check the control panel display. Most printers indicate which specific color is running low. Replace only the cartridge that needs it.
-
2
Purchase the correct replacement
Look on the old cartridge or in your printer's manual for the exact model number. Using a cartridge that does not match your printer's specifications can cause errors and may void any existing warranty.
-
3
Prepare the new cartridge
Remove the new cartridge from its packaging. Gently shake it a few times to distribute the ink evenly. Carefully peel off the protective tape or film covering the nozzles — this must be fully removed before installation.
-
4
Open the cartridge access door
Press the power button to wake the printer if it is in sleep mode. Open the cartridge access door and wait for the carriage to move to the replacement position. Never force the carriage manually.
-
5
Remove the old cartridge
Press lightly on the old cartridge to release it, then lift it straight out. Place it directly into a resealable bag to prevent ink from staining surfaces.
-
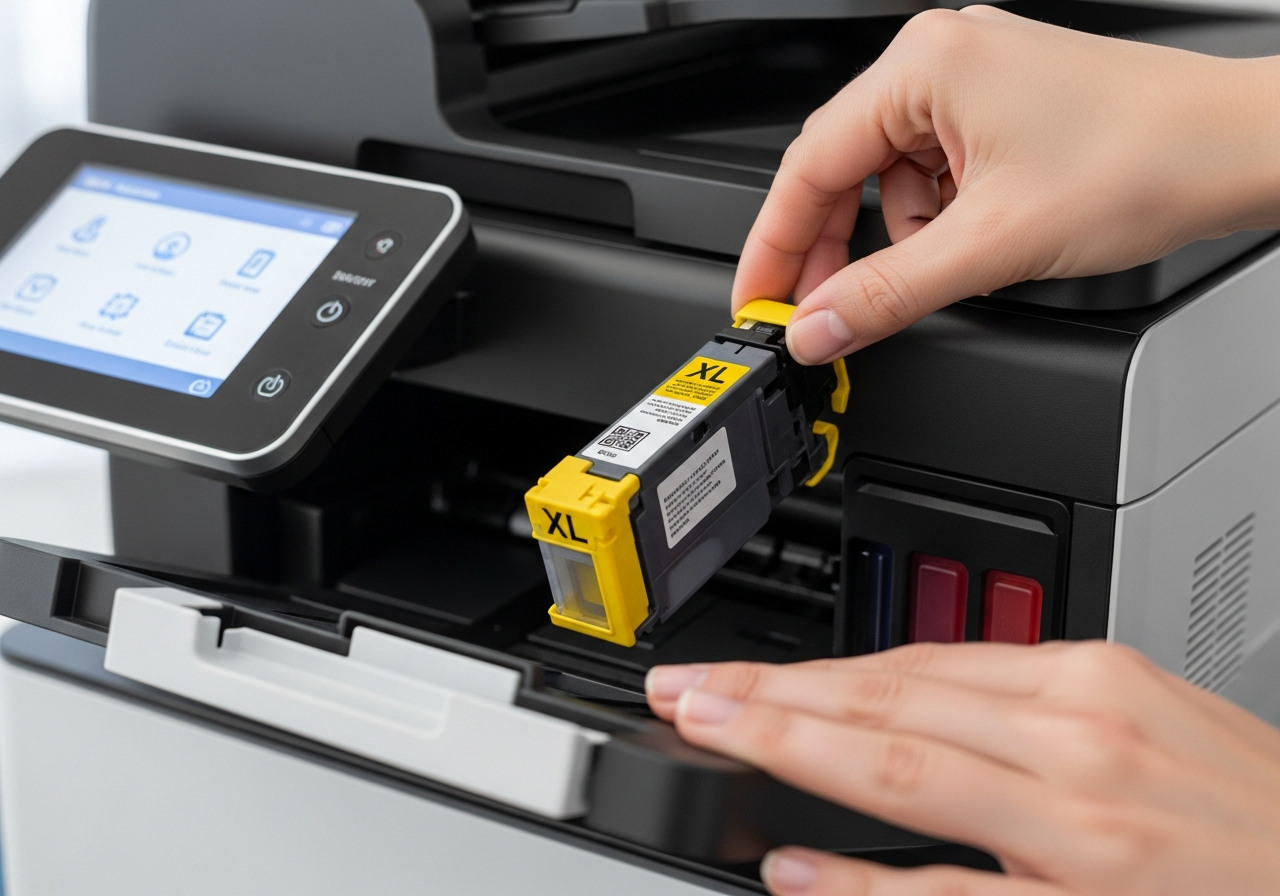
6
Insert the new cartridge
Slide the new cartridge into the correct slot. Press it firmly until you hear or feel a click, confirming it is seated properly.
-
7
Close the door and align
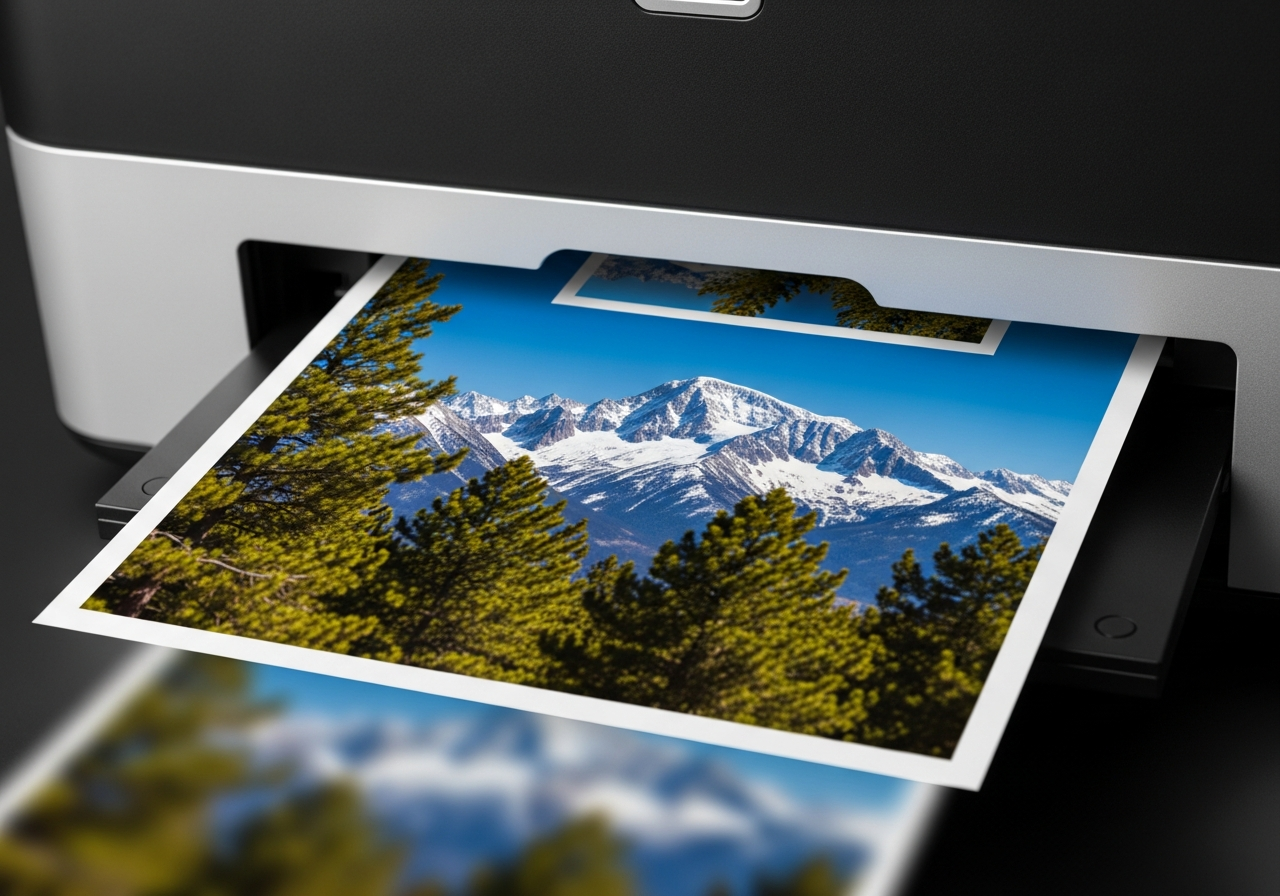
Close the access door. The printer will automatically run an alignment routine. Allow this to complete fully. Run a test print to confirm colors are accurate.
Helpful Tips
- Store spare cartridges in a cool, dry place away from direct sunlight.
- Do not touch the copper contacts or nozzle area with your fingers.
- If print quality is still poor after replacement, run a printhead cleaning cycle.
- Print at least one page per week to prevent ink from drying in the nozzles.
- Recycle your old cartridges — many office supply stores accept them.