Step-by-Step Instructions
-
1
Turn off the printer
Before doing anything else, switch the printer off using its power button and unplug it from the wall. This protects both you and the internal components while you work inside the machine.
-
2
Open all access panels
Open the rear panel, the front cover, and the output tray area. Most printers have at least two or three access points. Check your printer's manual to locate all of them — paper can lodge in unexpected spots.
-
3
Locate the jammed paper
Look carefully through each opening to find where the paper is caught. Use a flashlight if needed. Never reach into an area you cannot clearly see.
-
4
Gently pull the paper out
Grip the paper with both hands close to where it is jammed. Pull slowly and steadily in the direction the paper normally travels through the machine. Never yank or pull at an angle, as this can tear the sheet.
-
5
Check for torn pieces
Even small fragments left inside can cause repeated jams. Use a flashlight to inspect the paper path thoroughly. Use tweezers to remove any remaining pieces — never use sharp metal tools near rollers or sensors.
-
6
Close panels and restart
Once the path is completely clear, close all panels securely. Plug the printer back in, power it on, and run a short test print to confirm everything is working correctly.
Helpful Tips
- Always pull jammed paper in the direction of travel, not backward.
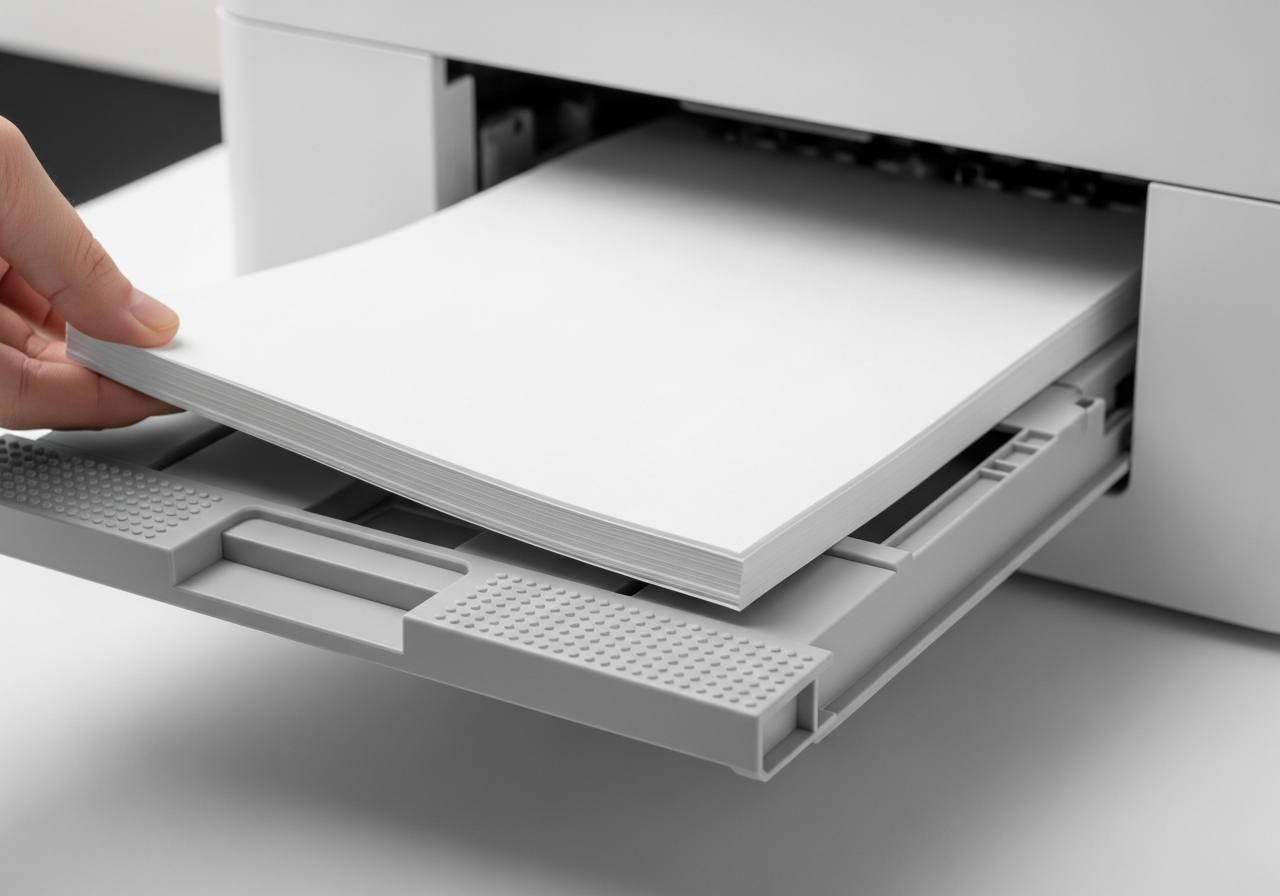
- Fan your paper stack before loading to prevent sheets sticking together.
- Never overfill the paper tray beyond its marked maximum.
- Use the correct paper weight for your printer model.
- If the jam recurs immediately, the rollers may need cleaning.