Step-by-Step Instructions
-
1
Position the printer within range
Place the printer within a reliable range of your Wi-Fi router — ideally in the same room or the next room. Thick walls and metal objects can weaken the signal significantly.
-
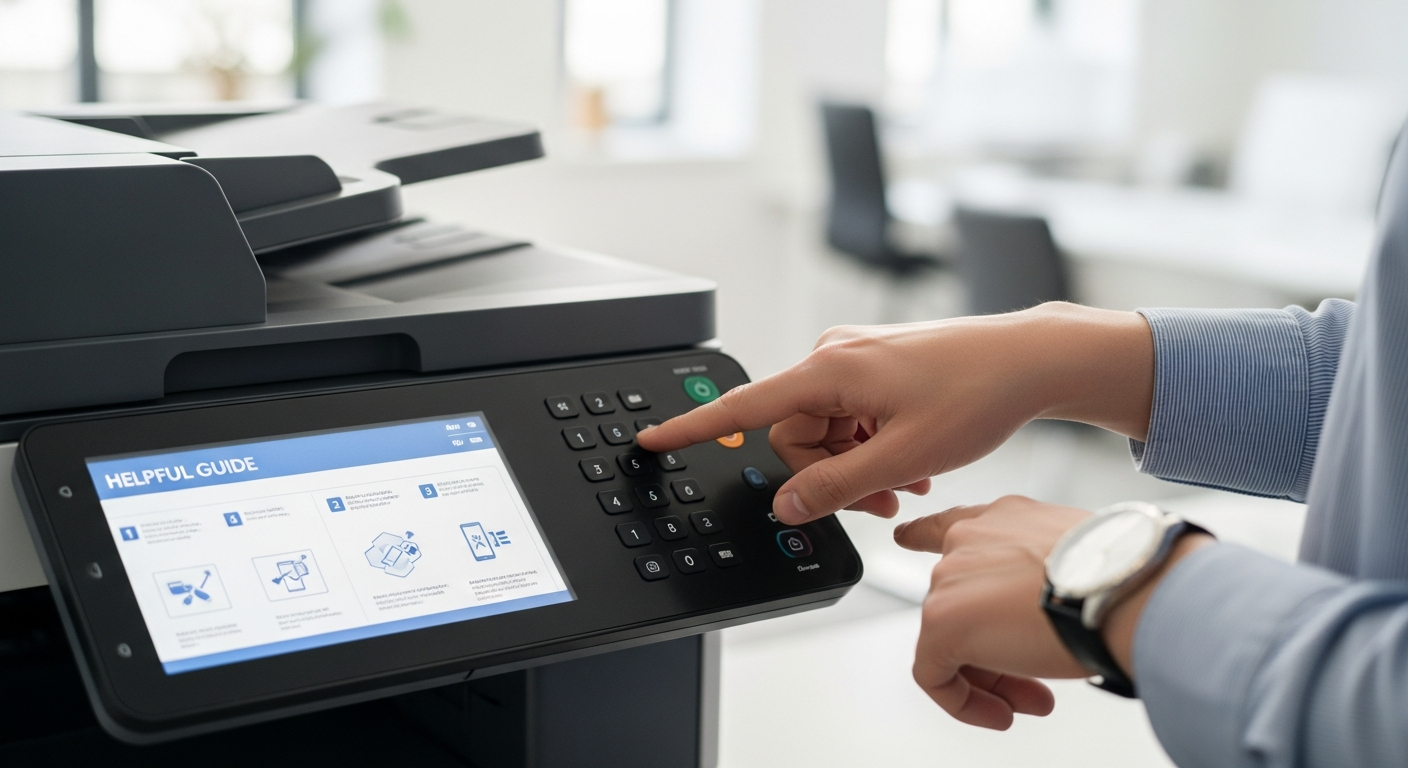
2
Access the printer's network menu
On the printer's control panel, navigate to Settings > Network or Wireless Settings. Look for a wireless setup wizard option.
-
3
Select your network (SSID)
The printer will scan for available networks and display a list. Select your network name from the list. If your network name is hidden, you will need to enter it manually.
-
4
Enter your Wi-Fi password
Using the on-screen keyboard or keypad, enter your Wi-Fi password. This is case-sensitive. Take your time — a single wrong character will prevent the connection.
-
5
Confirm the connection
The printer will attempt to connect. A successful connection is usually indicated by the wireless LED turning solid. Print a network configuration page to confirm the printer has received an IP address.
-
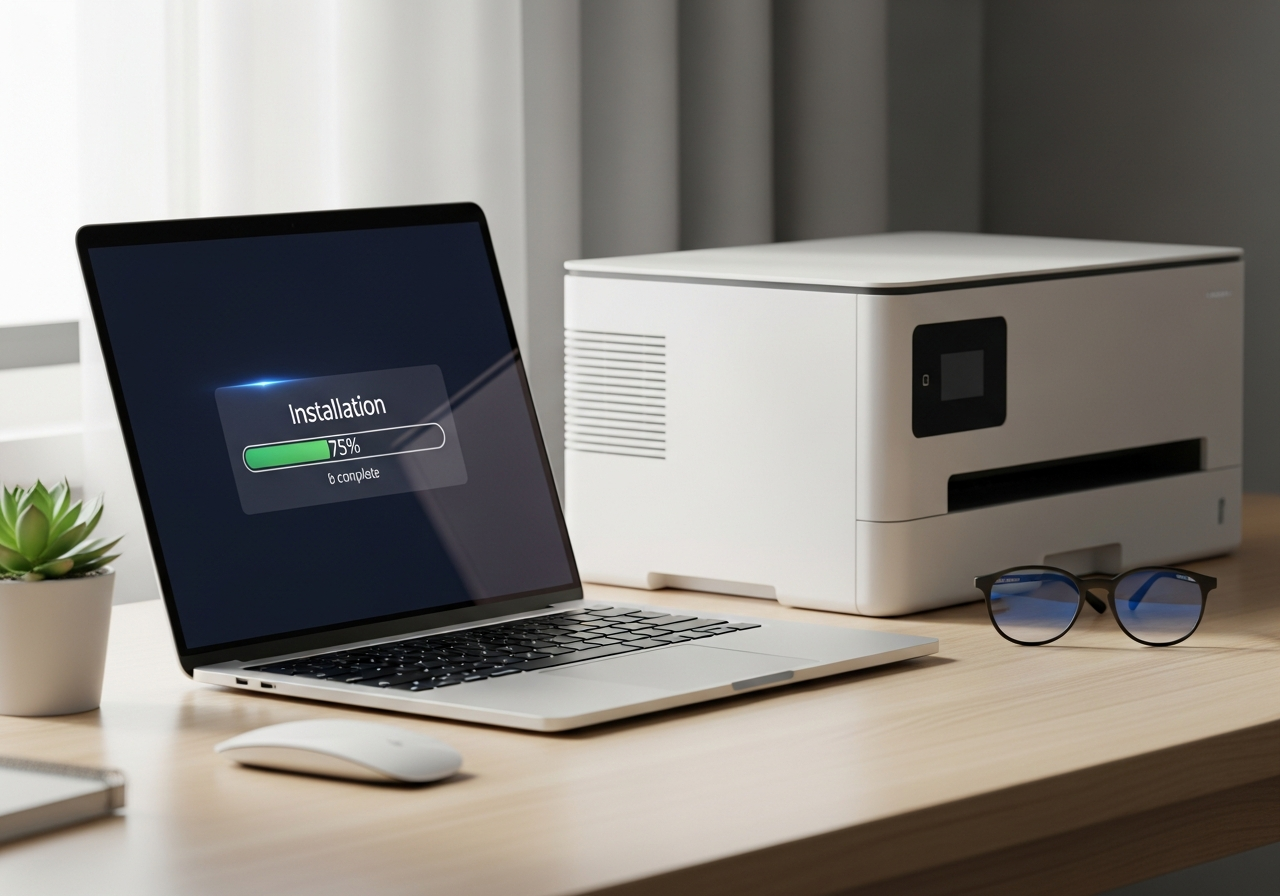
6
Add the printer to your computer
On Windows: go to Settings > Bluetooth & devices > Printers & scanners > Add device. On Mac: go to System Settings > Printers & Scanners > click the + button. Your printer should appear in the list.
-
7
Test the connection
Open a document and print a test page. If the print job goes through successfully, your wireless setup is complete.
Helpful Tips
- Use the WPS button method for the fastest setup if your router supports it.
- Assign your printer a static IP address in your router settings to prevent the IP from changing.
- If the connection drops frequently, move the printer closer to the router.
- 2.4 GHz networks have longer range than 5 GHz — useful for printers placed farther from the router.
- Keep your router's firmware updated for the most stable connections.